How to create a site in SharePoint
SharePoint is a powerful collaboration platform that can be used to create and manage websites. If you're a SharePoint administrator, you may need to create new sites for your users. This blog post will show you how to create a site in SharePoint.
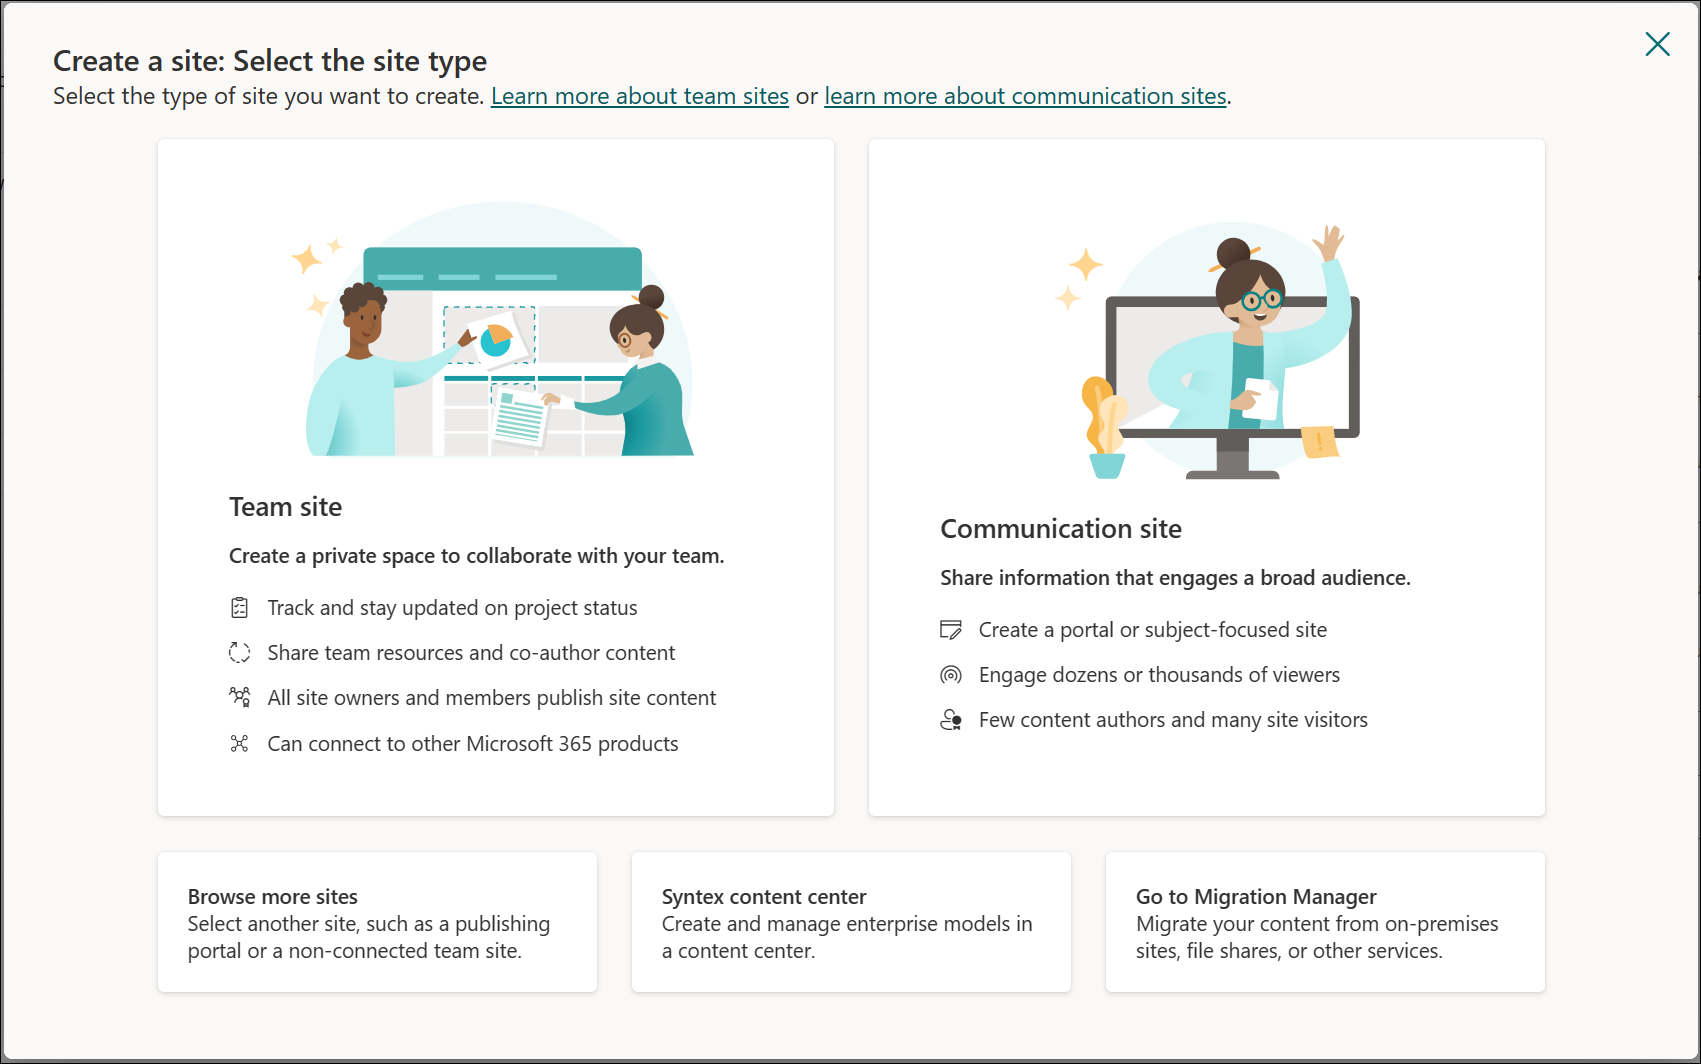
To create a site in SharePoint, follow these steps:
- Go to the Active sites page in the SharePoint admin center.
- Sign in with an account that has admin permissions for your organization.
- Click Create.
- Select the type of site you want to create. You can create a team site, a communication site, or a custom site.
- Enter a name for the site.
- Choose a location for the site.
- Select the users who will be the owners of the site.
- Select the language for the site.
- Click Finish.
SharePoint will create the site and open it in a new tab in your browser. You can now start adding content to the site.
Here are some tips for creating a site in SharePoint:
- Choose a descriptive name for the site. This will help your users find the site easily.
- Choose a location for the site that makes sense for your organization. For example, if you have a team of sales representatives, you might want to create a site in the Sales department.
- Select the right users as owners of the site. Owners have full control over the site, including the ability to add and remove users, change permissions, and delete the site.
- Choose the right language for the site. This will ensure that your users can easily understand the content on the site.
I hope this blog post has helped you understand how to create a site in SharePoint.


No comments:
Post a Comment